- Published on
Magic Mirror
- Authors
- Name
- Justin Phu
- @jqphu
Me: "Magic mirror on the wall, who is the fairest one of them all?"
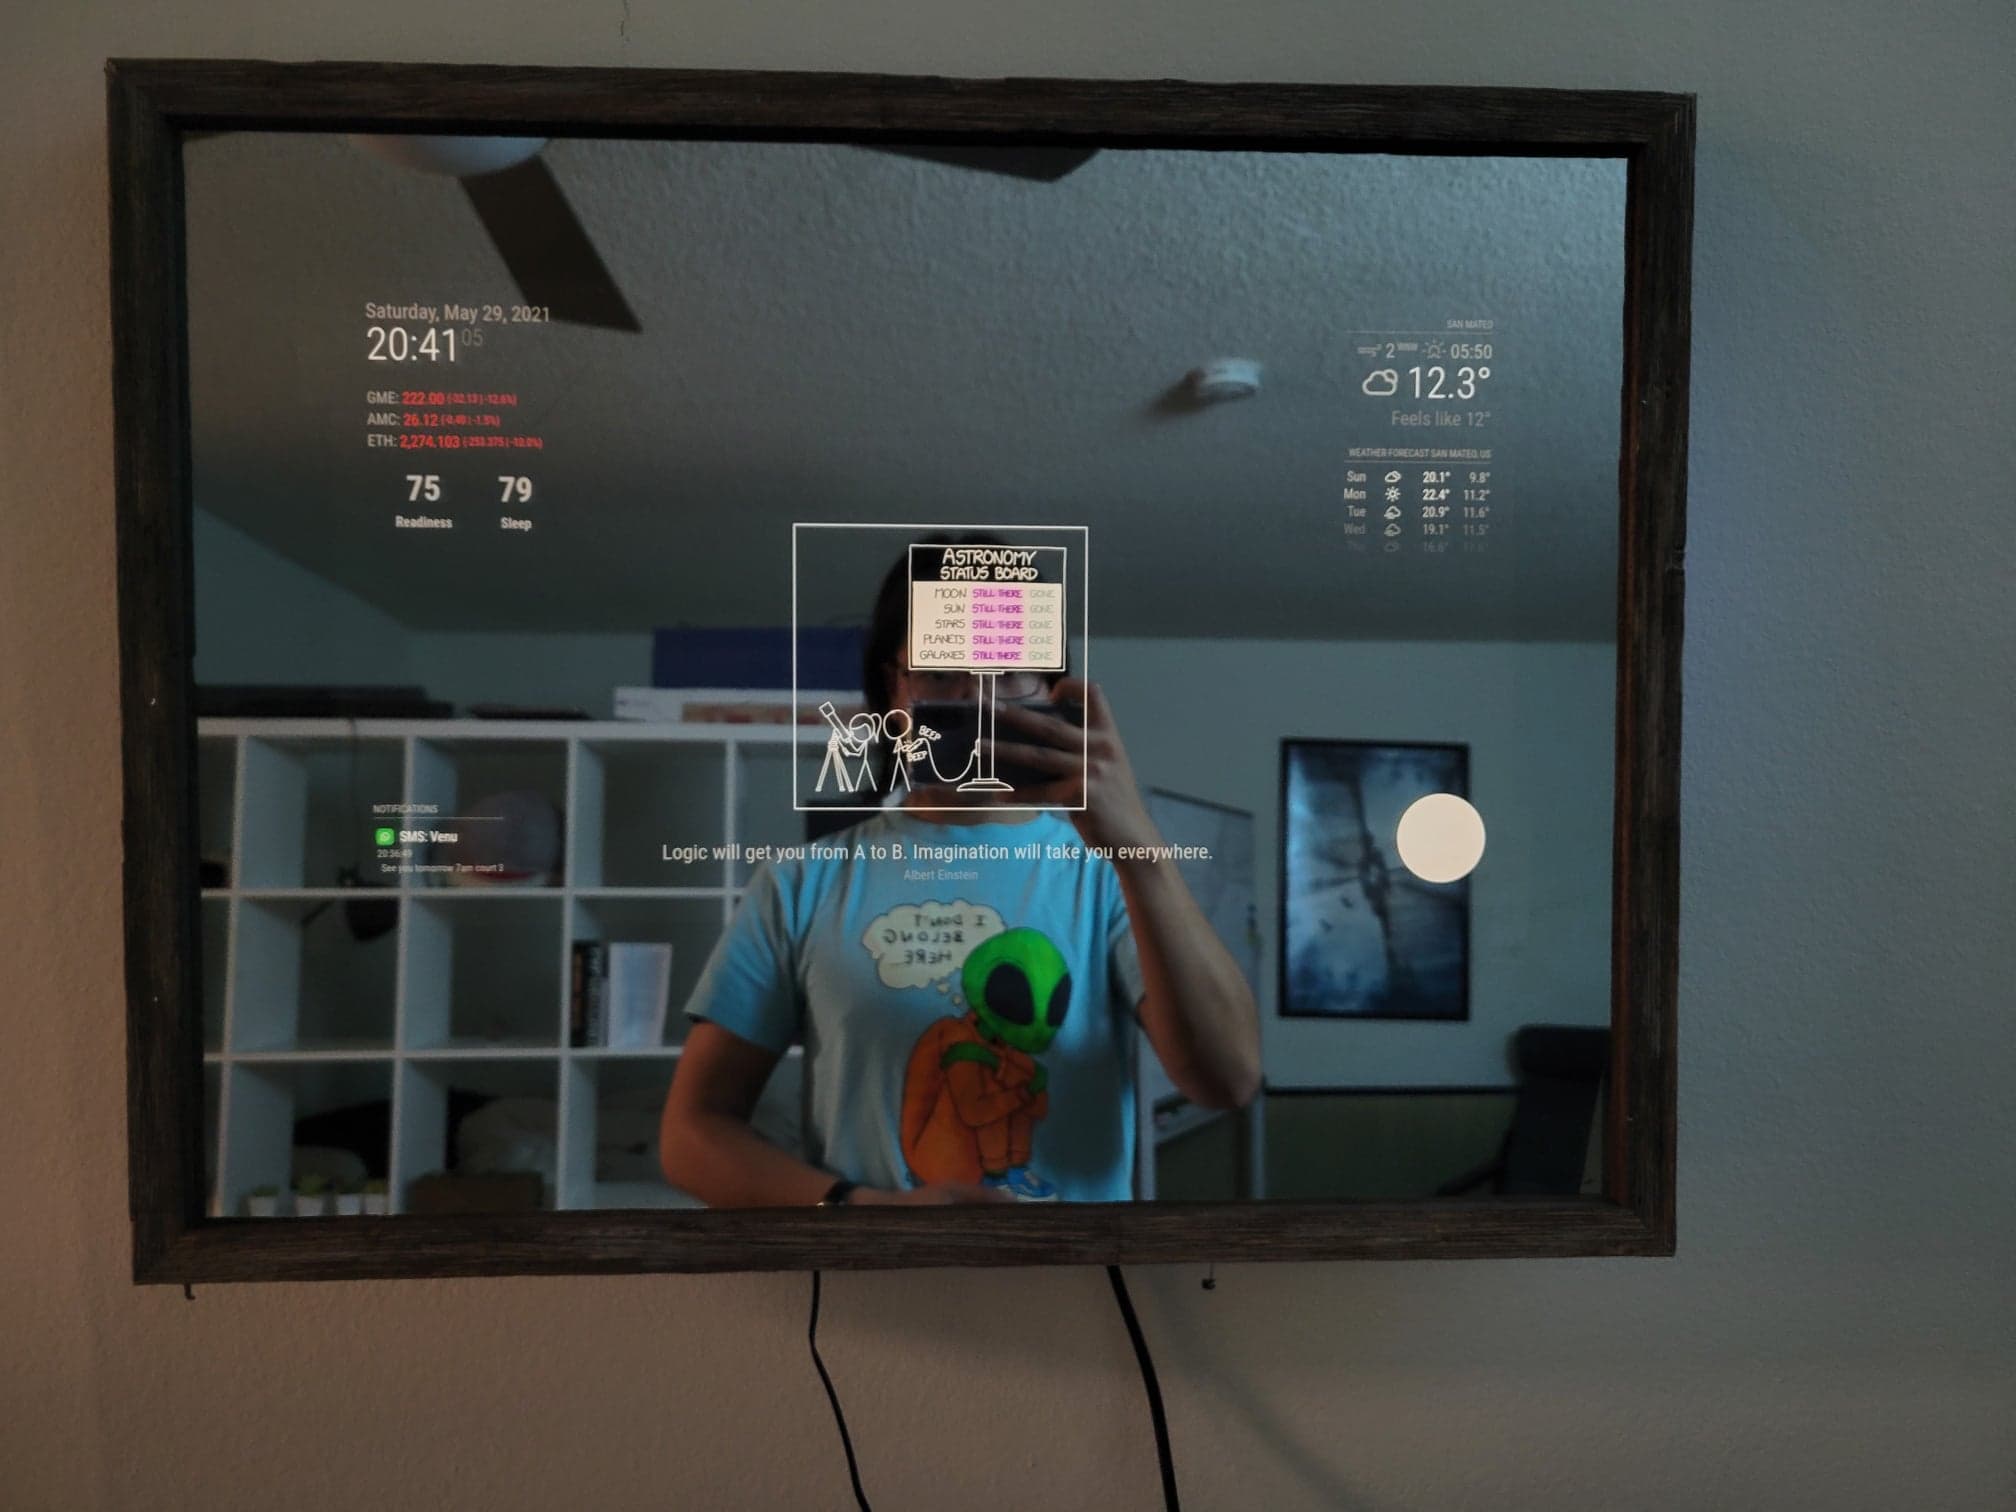
Mirror: "GME is down 12%"
Me: "Great, here we go again."

A Touch of Magic
I've always been fascinated by home automation. I still find it fascinating that my whole home isn't interconnected and controllable. It seems obvious that I should simply be able to control my lights with my motion, the thermostat should know my desired temperature and my kettle should turn on automatically as soon as I get out of bed!
So when I learnt about magic mirrors, I started imaging all the amazing things I would do with it. I'd make it touch screen and control all my lights from it. Through a simple voice command it would show me my calendar for the day. It would tell me what my goals are for the day and what I should focus on. It was a great vision but the first step was, well, building it. How hard could it be? :)
Time to Build
The magic mirror works by having a two-way mirror like the ones you see in police interrogation scenes. It's not really a mirror but because you can see your reflection we will call it as such.
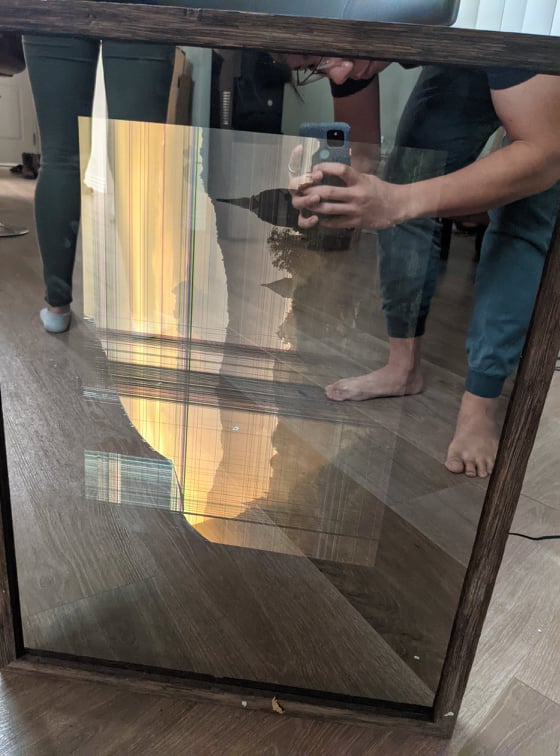
What this does is it allows some light to be reflected but also allowing some light to pass through. Once we have our mirror, we slap a monitor right up to it so it is able to display some content. The problem is monitors are big and bulky, so I had to remove the bezel. That's fine, how hard can it be. I removed the screws and started sticking a screwdriver between the bezel and the screen to crack open the bezel. That was a good idea until I took the screwdriver into what I thought was the bezel but ended up being the screen. This completely destroyed the pixels of my monitor.

Oh well, I got another monitor and tried again. After removing the bezel I had a naked monitor and a double sided mirror. I went to the store to get a thick picture frame. Ideally, I'd 3D print a case but I have no idea how to do that, an upgrade for another time :P.
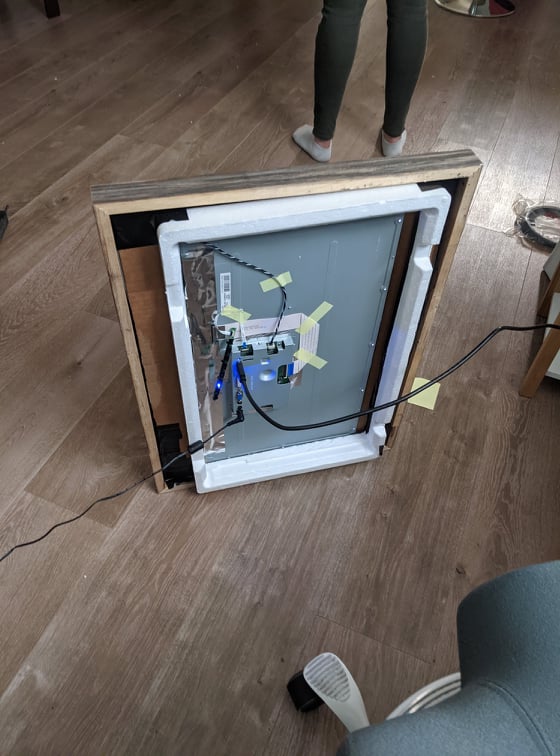
With the naked monitor, two-way mirror and a frame it was time to assemble. The monitor was much smaller than the two-sided mirror (by design). I covered all the areas the monitor didn't cover with black duct tape. This minimized the light leakage and made sure the reflection was as strong as it could be. I stuck the monitor to a piece of cardboard to give it some more stability and used an exorbitant amount of duct tape to stick it together.
The frame was not big enough to house all the electronics so I used some foam from the monitor packaging to give it a little bit of buffer.

Software Eats the World
Now everything was strapped together, it was time for the software!
I found a raspberry pi 3B+ laying around and flashed it with Raspberry Pi OS. I've done this flashing multiple times before so it wasn't a big deal (having arch linux as my desktop OS - yes I use arch ;)). It is incredibly impressive how cheap it is to get a piece of hardware that was more powerful than many computers 20 years ago.
Magic mirror comes with pre-built software which is crowd sourced! This is what made it great, all I had to do was pick which plugins I liked, arranged them where I liked and I was good to go!
The idea was I'd look at this mirror every-morning as I got up! So I installed widgets that I'd like to look at daily.
This included a stock tracker so I can see how much money I lose everyday! As well as an oura ring plugin which shows my sleep and readiness scores. Putting it all-together it looked quite nice!
Just Start
That's all it took to build my magic mirror! Nothing more than a weekend of work to piece it together and install all the software. I probably spent too much time just figuring out where to place widgets nicely :).
It's nice to play around with physical products and have something to show for your work! I hope to eventually make this mirror even smarter but this will do as a starting point!